Revealing the Challenges of Refinishing Hardwood Floors
Refinishing hardwood floors is not for the faint of heart—or the impatient. You must have patience and planning.
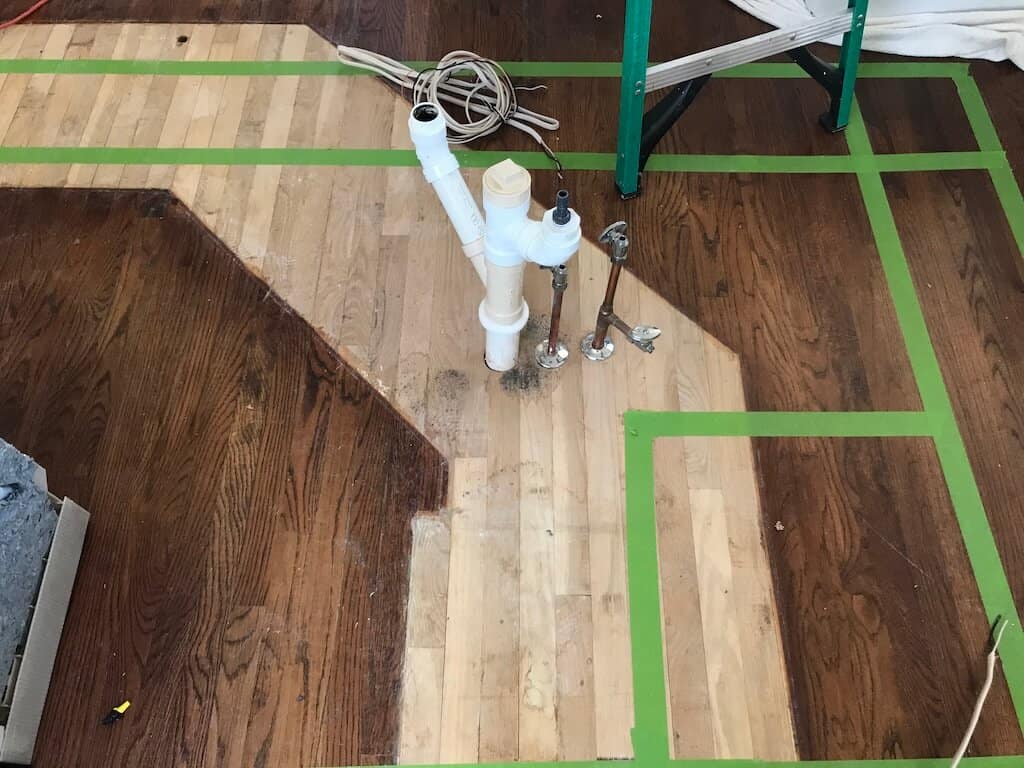
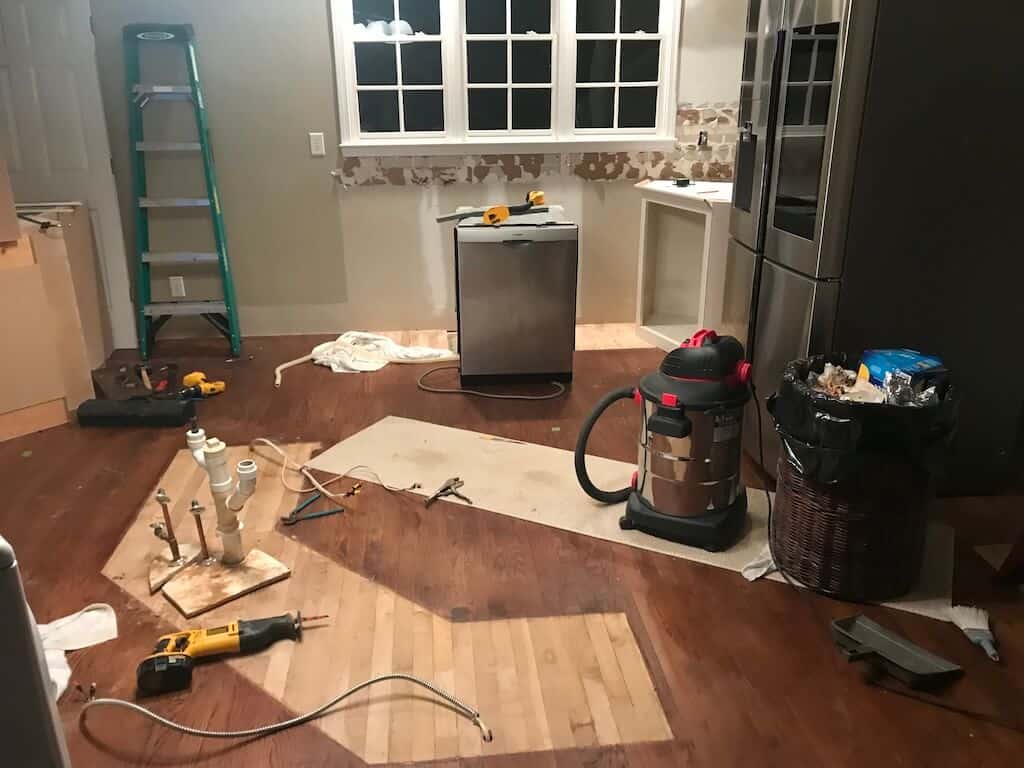
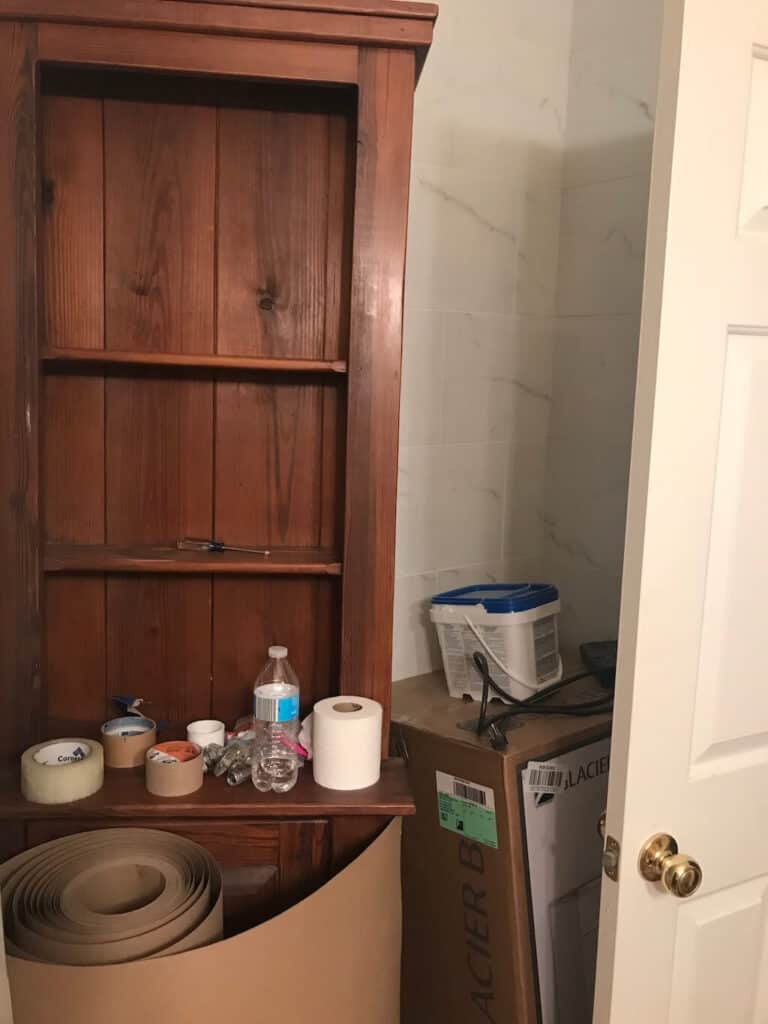
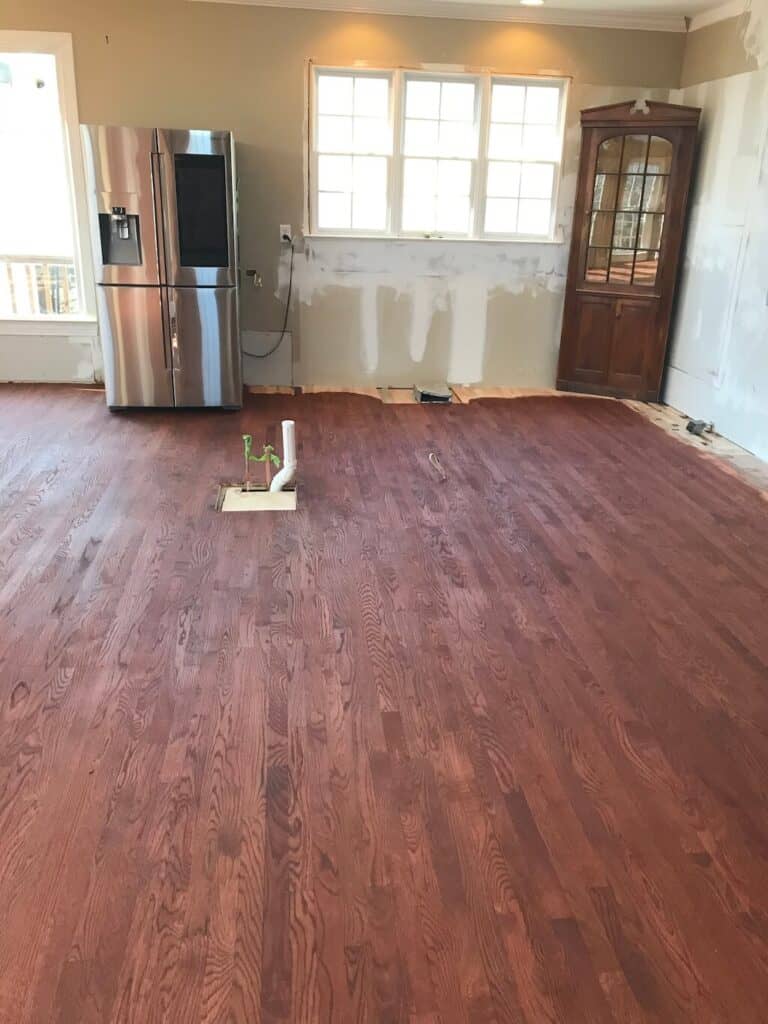
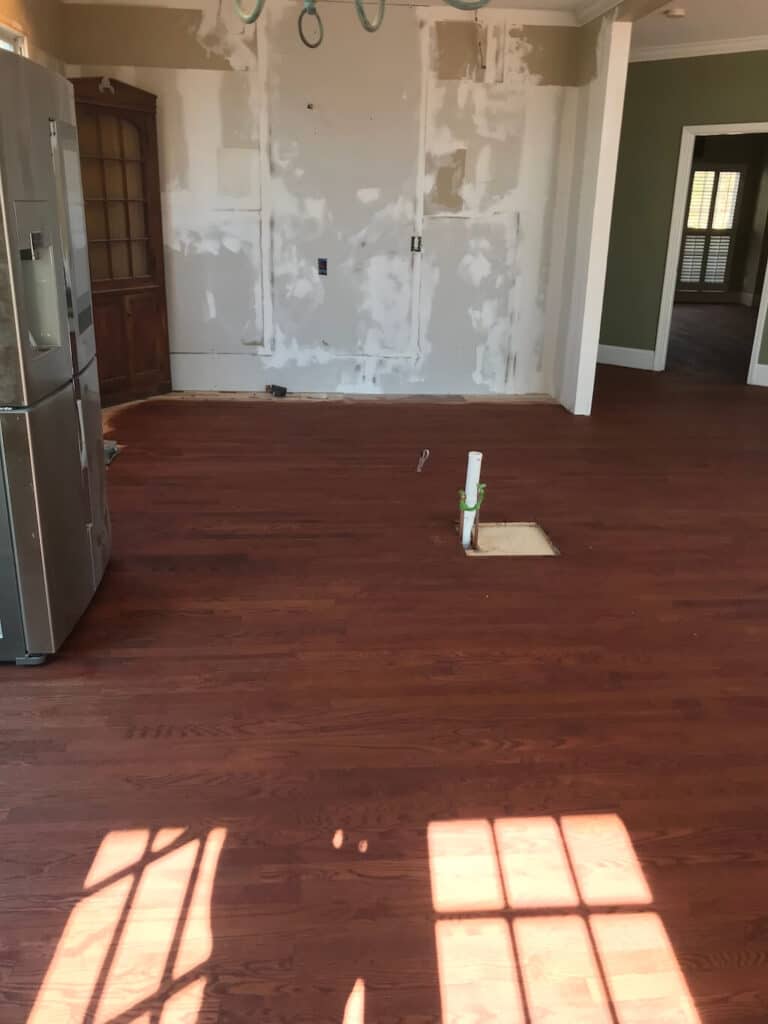
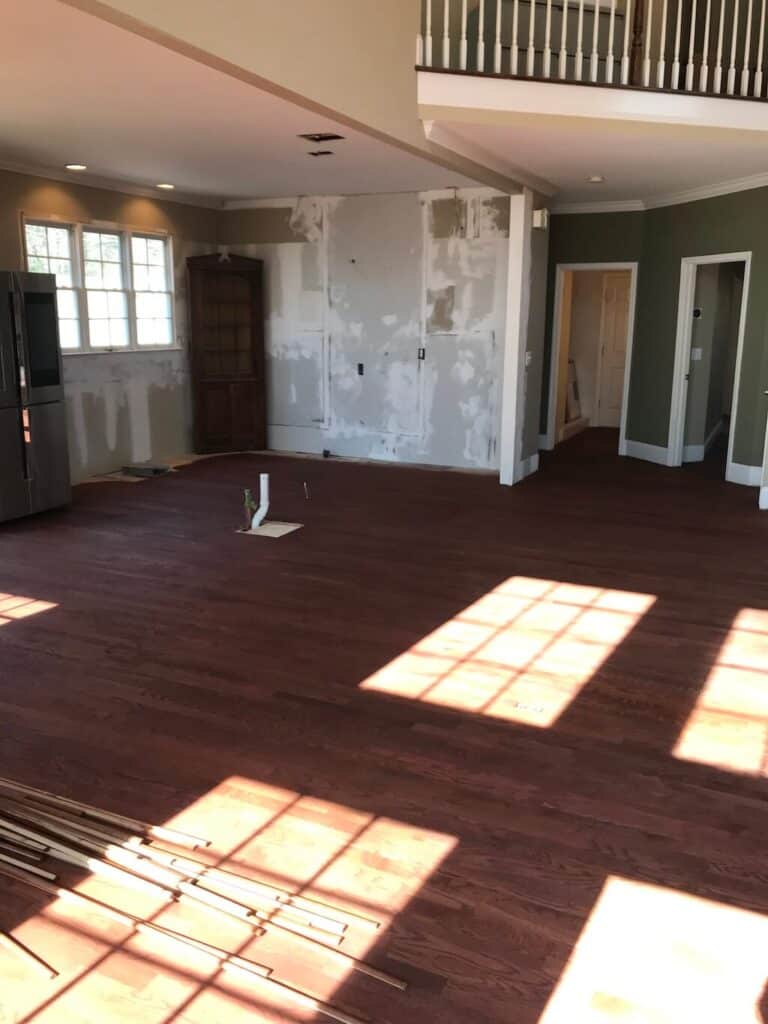
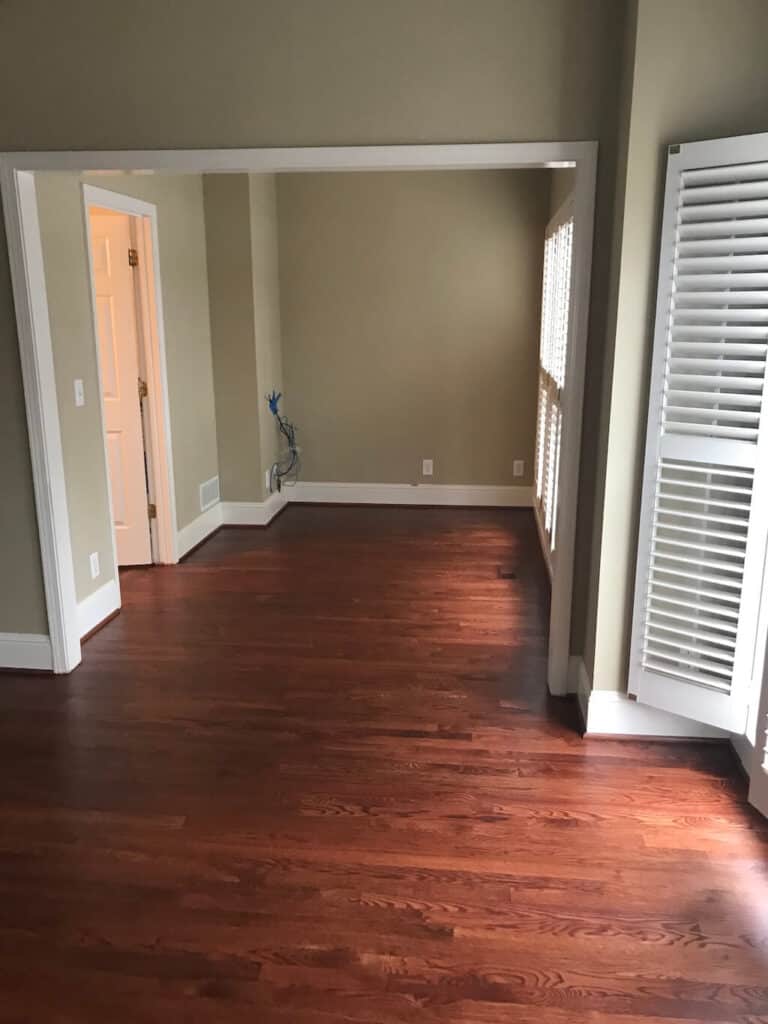
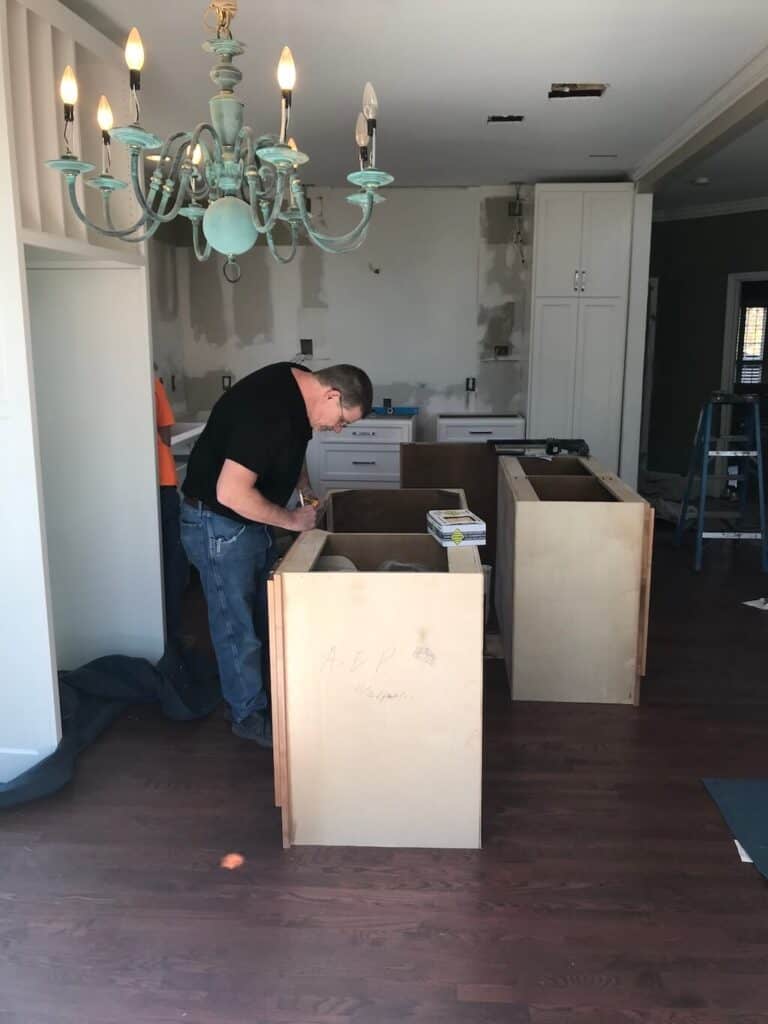
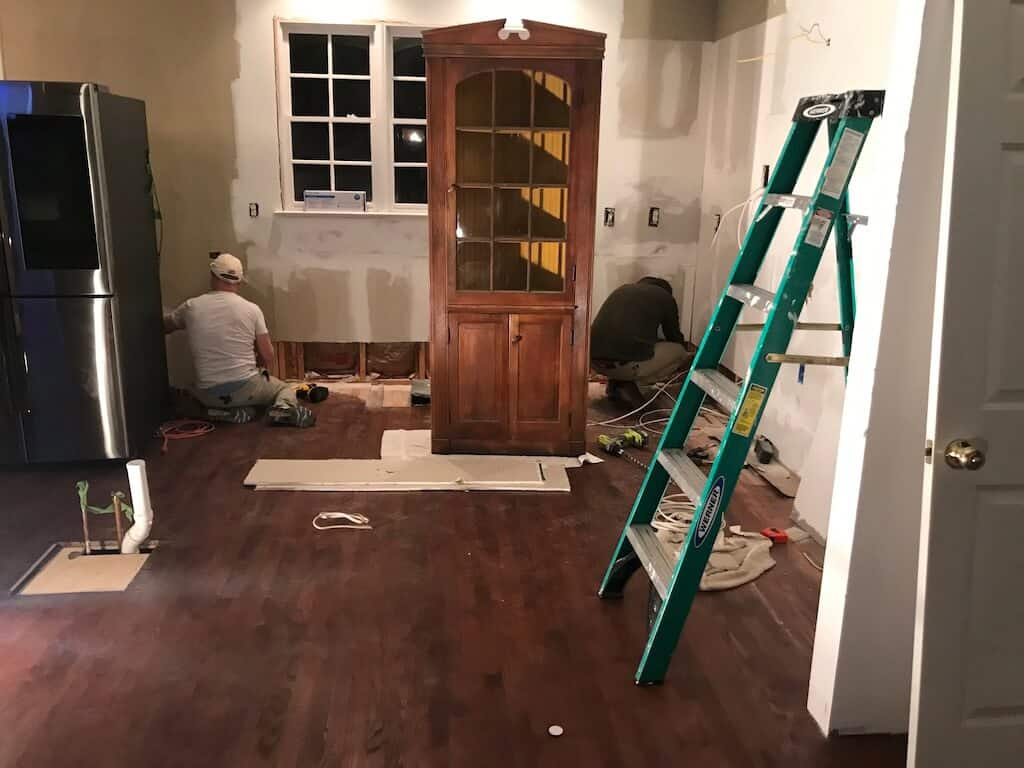
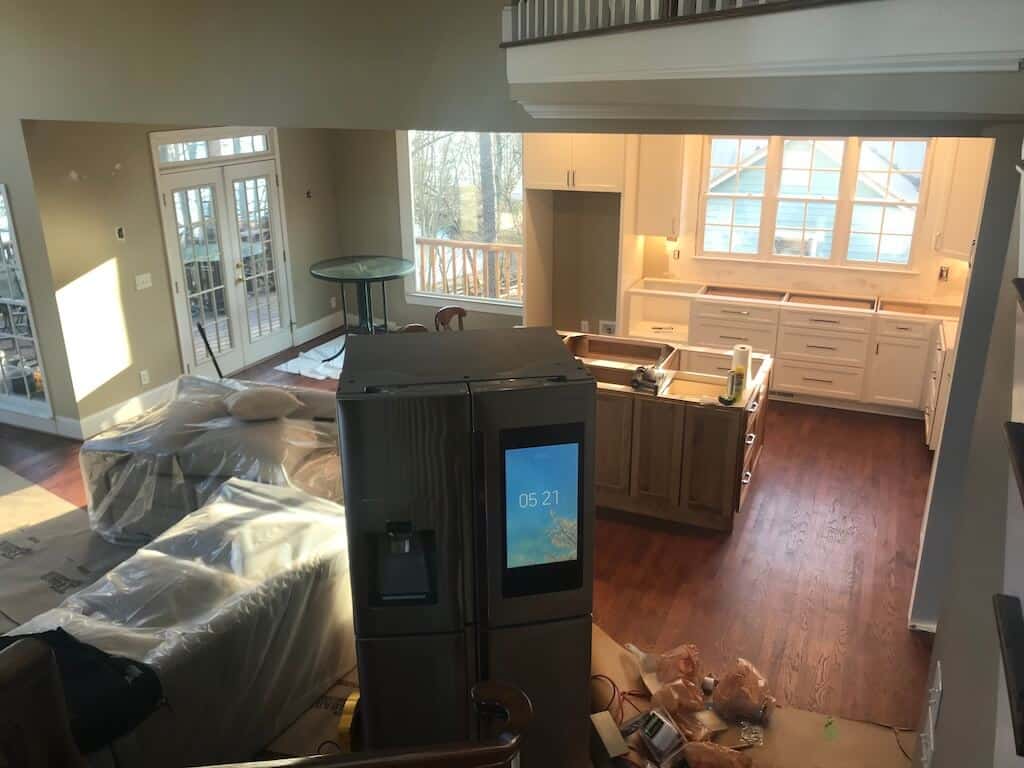
Revealing challenge number one, literally. The mystery unfolds when the original cabinetry is removed. Did the initial builder put hardwood floors underneath all of the original cabinets? Or did the cabinets go in first, with no hardwood floors underneath? Additional costs will be incurred if there are no hardwoods because you must now install new wood planks with the reconfiguration.
Our excellent builder put the hardwood floors in before the cabinetry. Boom!

Refinishing hardwood floors is a rewarding but intensive process. It’s a bit like sending your house to a spa, except this spa requires industrial sanders, protective gear, and a full-scale evacuation due to airborne toxins.

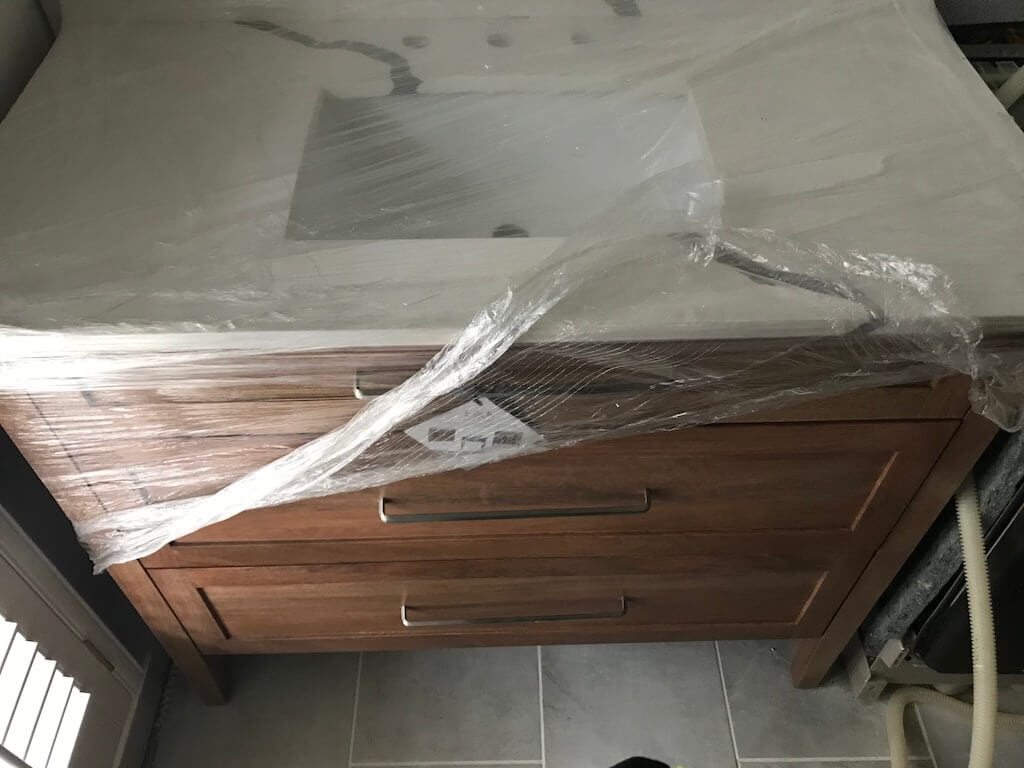
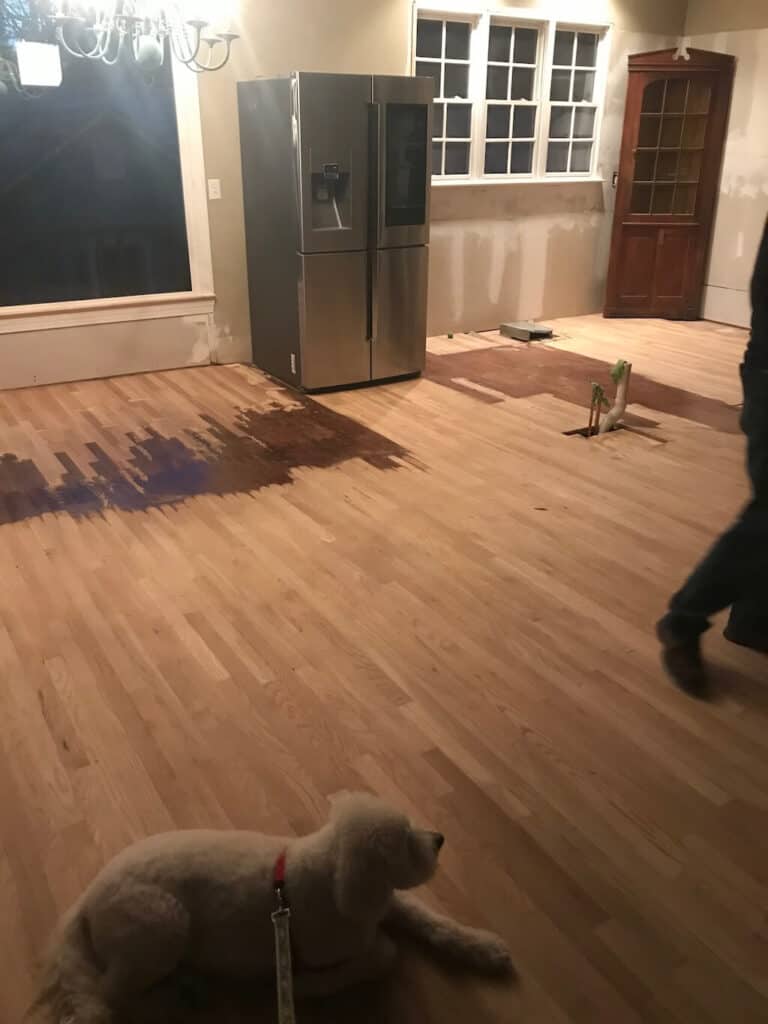
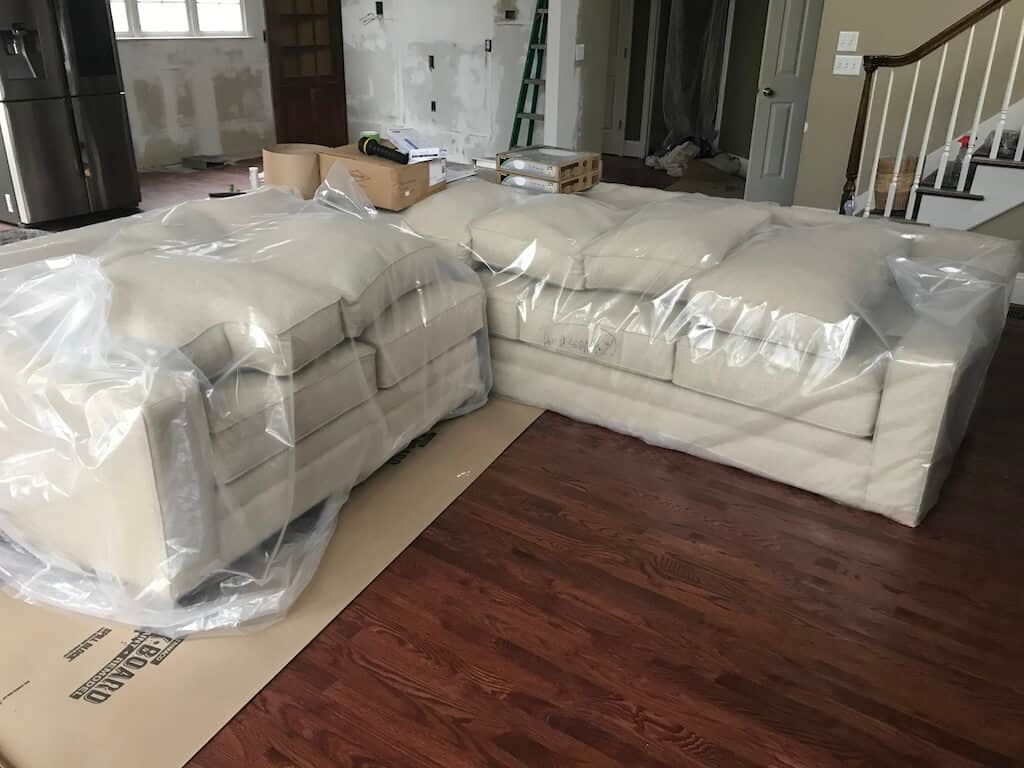
Once the sanding starts, so does the chaos. Every piece of furniture must be relocated (preferably not onto another freshly refinished surface). You have to vacate the premises like you’re fleeing a chemical spill—which, to be fair, you kind of are. You can’t walk on the floors, breathe the air, or maintain your sanity. But hey, beauty has its price.

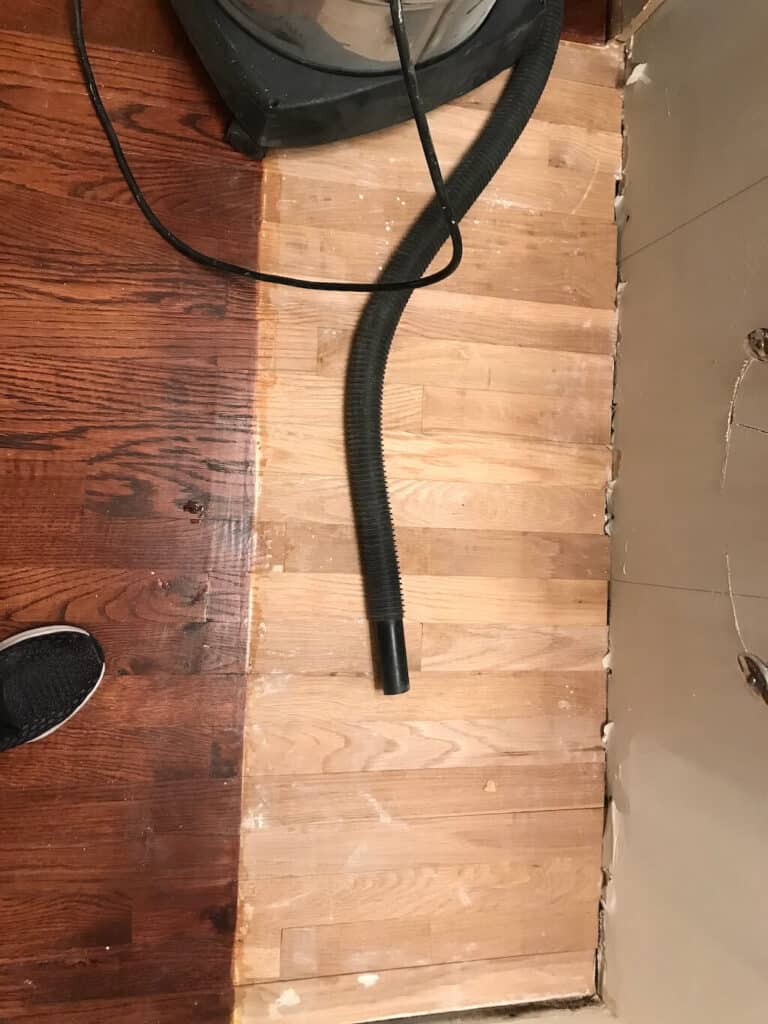
Once sanding is complete, the stain and protective coatings are applied, each requiring drying time in between.
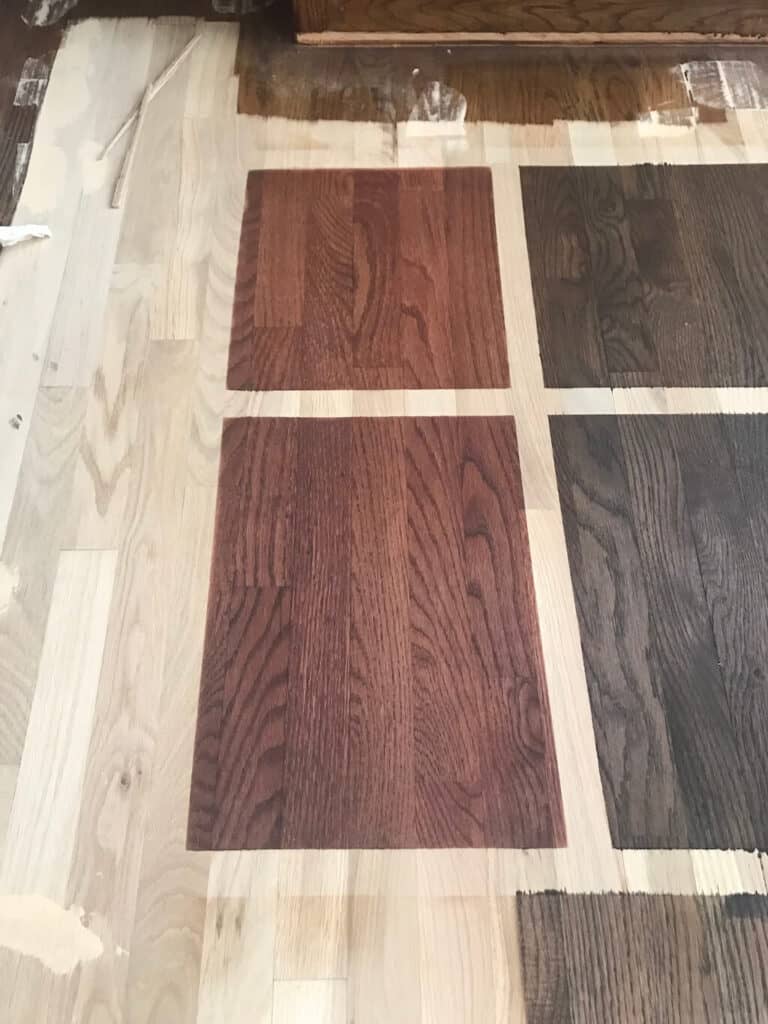
Stain Selection: Challenge 2

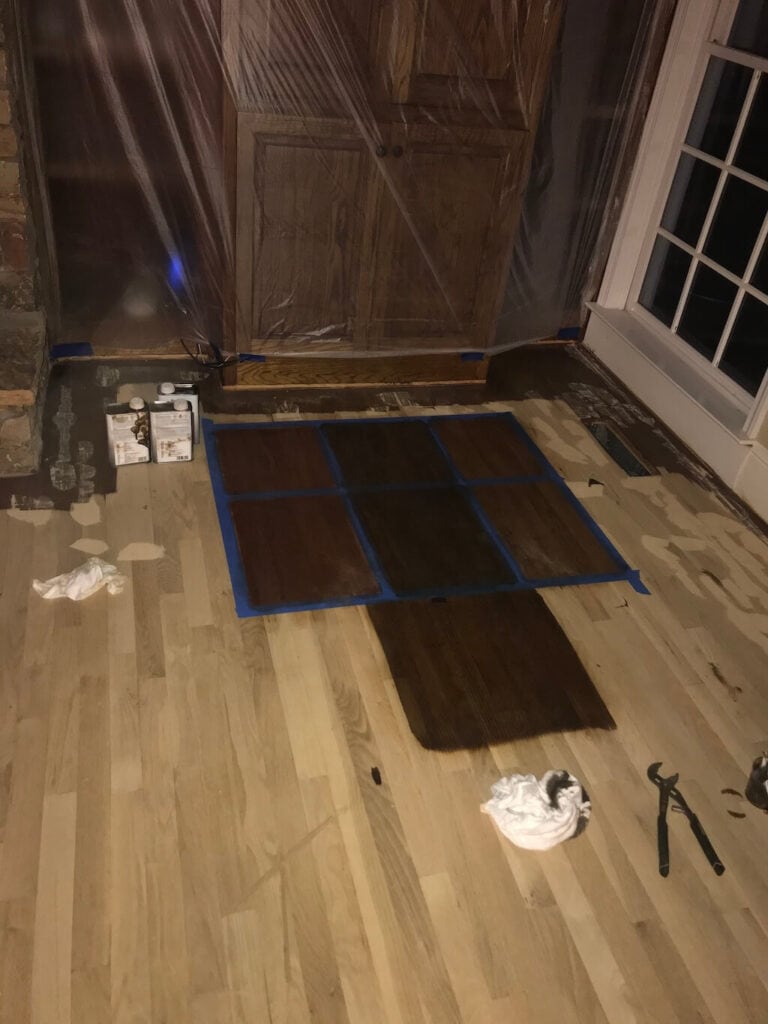
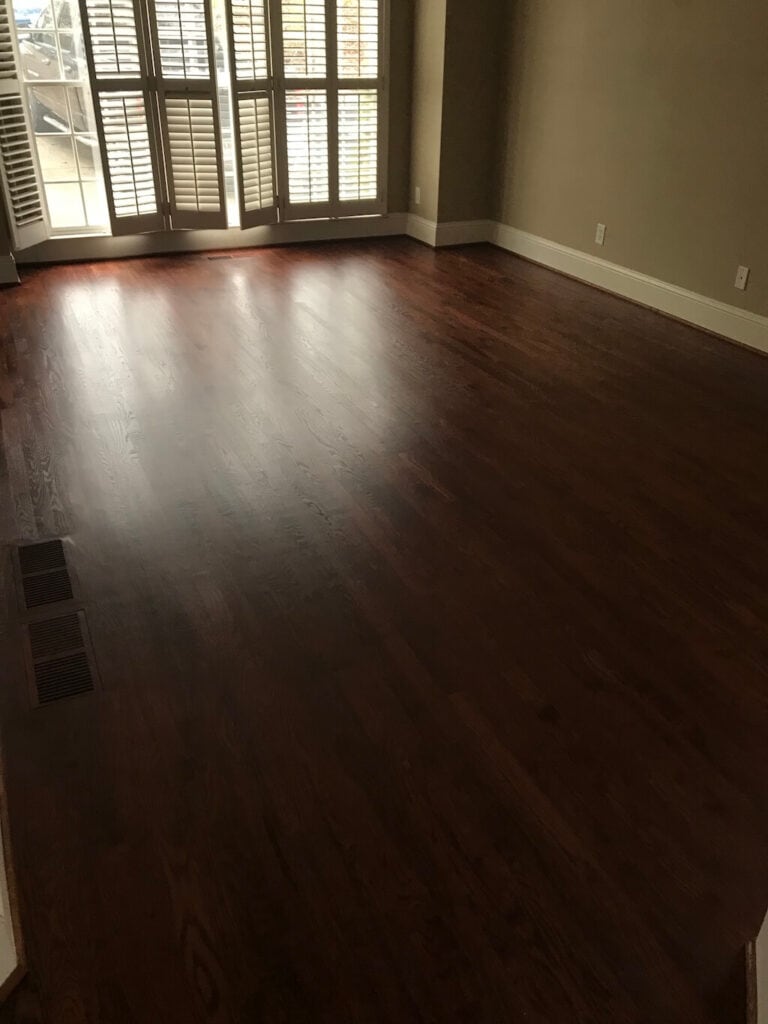
The biggest surprise in the process? Stain selection. Who knew there were so many shades of “almost brown”? We were on a mission to find a color that would complement our built-ins—rich, elegant, with a hint of red. Not too orange, not too dark, not too dull. Our floor guy patiently applied what felt like every stain known to man directly onto the sanded floor. We spent an absurd amount of time staring at tiny square swatches, tilting our heads and muttering things like, “This one looks too ambitious,” or “That one feels like it’s trying too hard.” Eventually, we found The One.
This is a VIDEO of the refinished, restored, not yet glossed hardwood floor renovation.
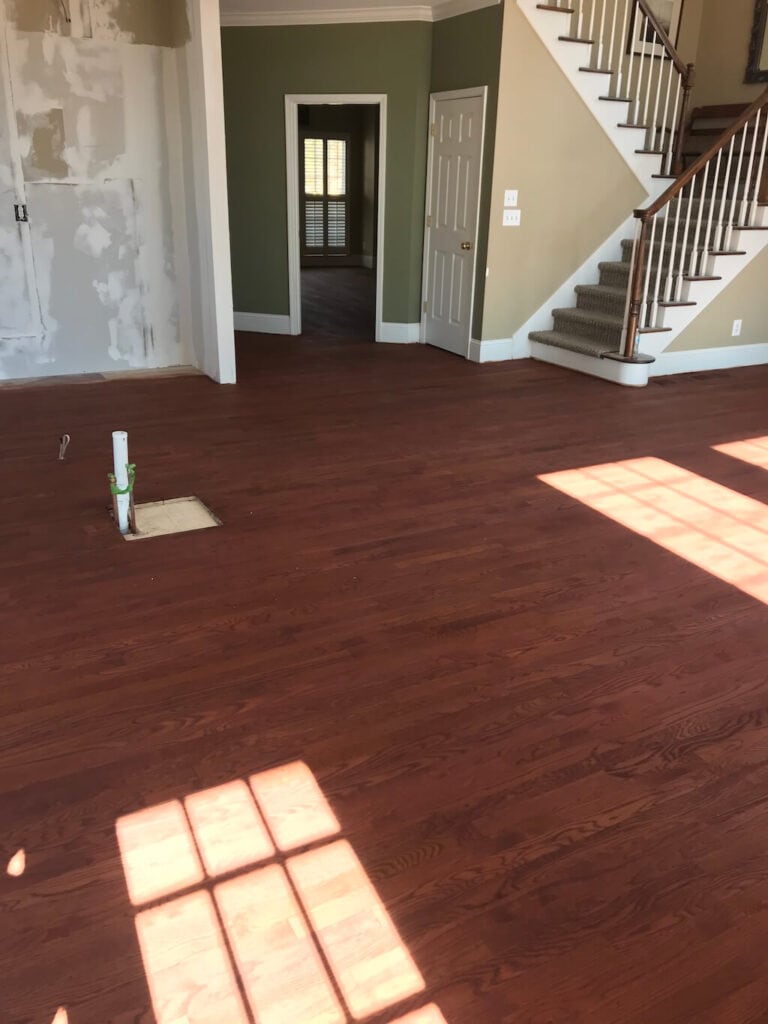
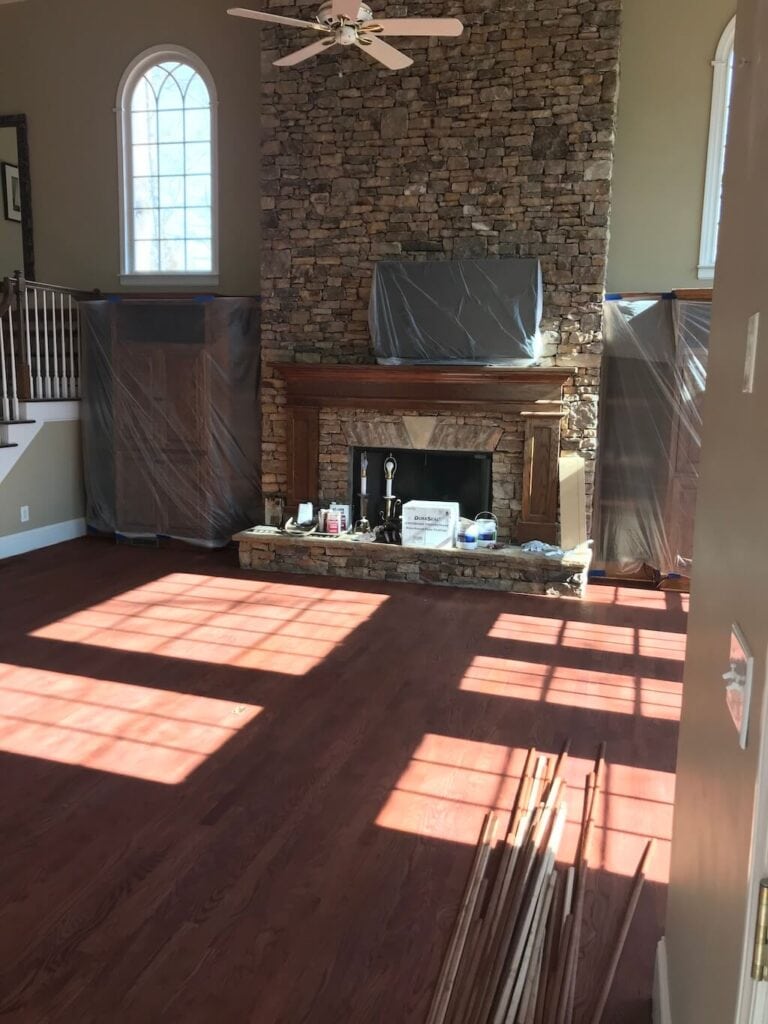
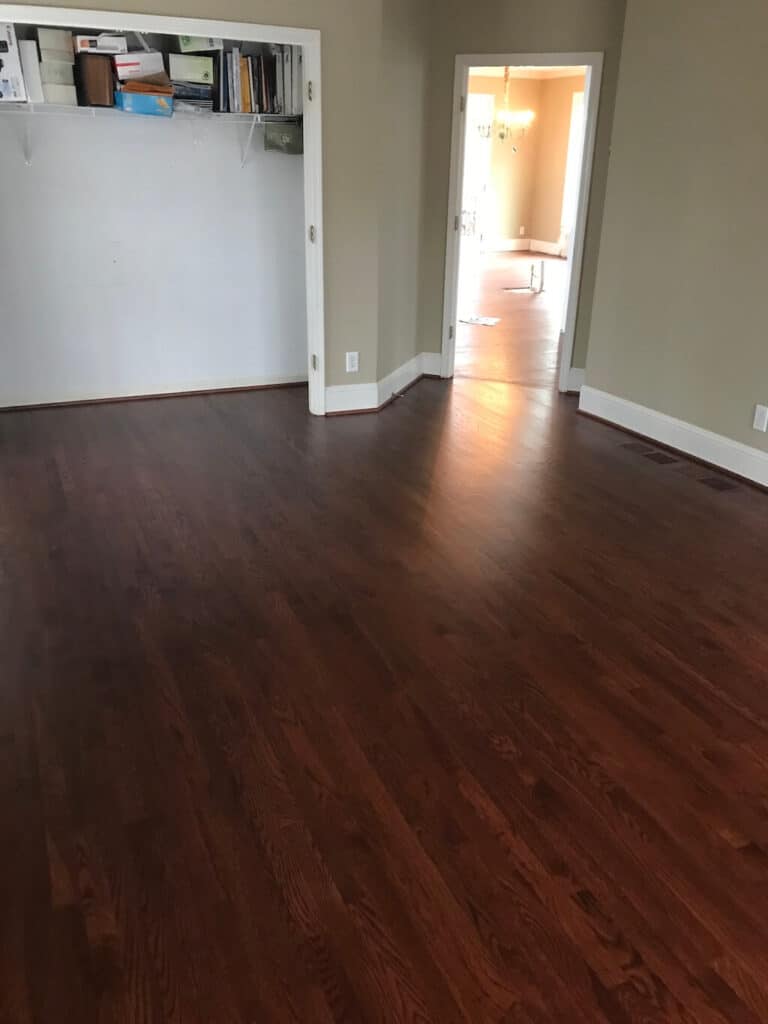
When it was all done, the floors were stunning—glossy, warm, and a near-perfect match to the built-ins. The cherry on top? Custom floor vents that blended right in like secret agents of style. There are no cheap metal grates here—just smooth, uninterrupted beauty underfoot. We gazed at them with pride, like we’d personally hewn the planks with our bare hands.
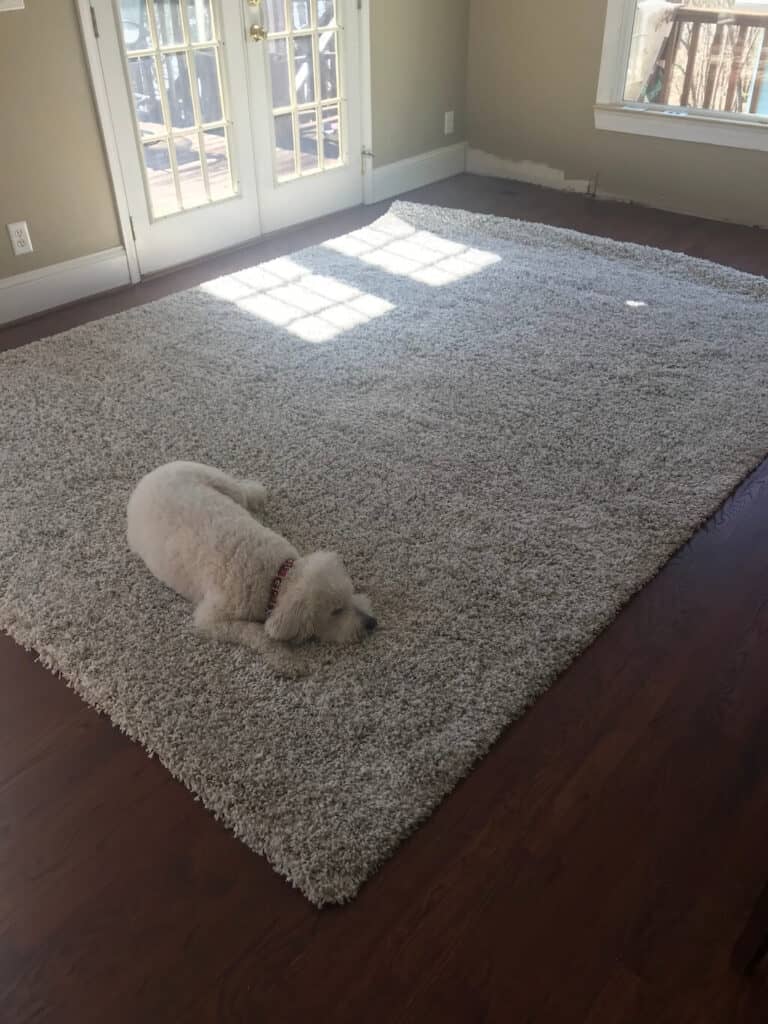
Scuffs. Scratches. Life!
And then, I made the rookie mistake of asking our hardwood pros how to keep them looking this good. They didn’t even hesitate. Just laughed and said, “You have a dog.” Nothing humbles a gleaming hardwood floor faster than zoomies, slobbery tennis balls, and claws that click like tiny stilettos. Still, every scratch tells a story—and at least now, the story starts with fabulous floors.

^^^^^^^All of this after the hardwoods were completed.^^^^^^
For all the stunning pictures of the newly stained hardwood floors, go <HERE >to see the different rooms and their shiny new floors. Naturally, I incorporated rugs and other protectors, but they are more than lived on. ☺️